The final fitting was to insure everything was perfect before using the raw material–to avoid waste-time-labor.
 Below: I select the properly variegated horn preferred for my client-glue it down-drill holes for the interior cuts.
Below: I began to smooth out the cuts from the saw. Across the the bridge of the nose you can see a thinner spot on the left side-there was nothing to correct this mistake, and it made the frame very weak at the most critical point of stability. I ended up testing the horns flexibility to breaking point. I could have worked with the flex, but I could not live with the possibility of them breaking once the client had been wearing them for some years down the road.  Below: Restart-the interior cuts.
 Below: I learned my lesson the difficult way when cutting out the pattern. In this photo you can see the lesson learned as I have drawn a pattern around the pattern-giving myself a millimeter of cushion.
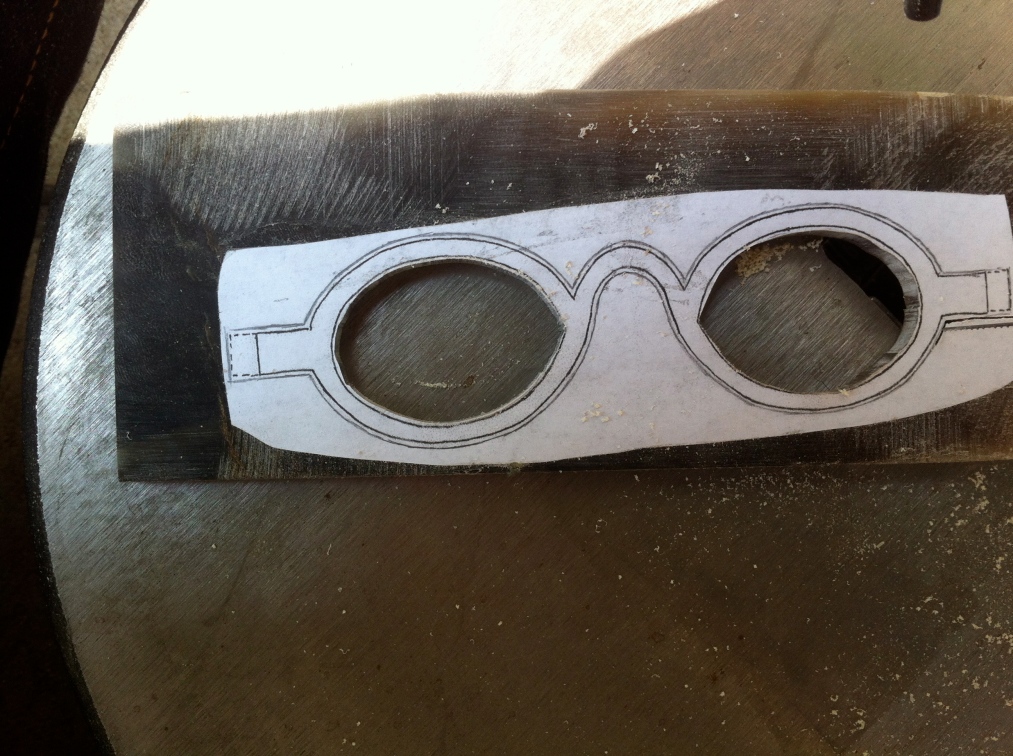 Below: I really like this photo. Here you see the raw frame cut out-the lines around the bridge of the nose are noticeably still puffy from the cushion I allowed while cutting. I will take my files with precision and file everything down to the exact pattern.
 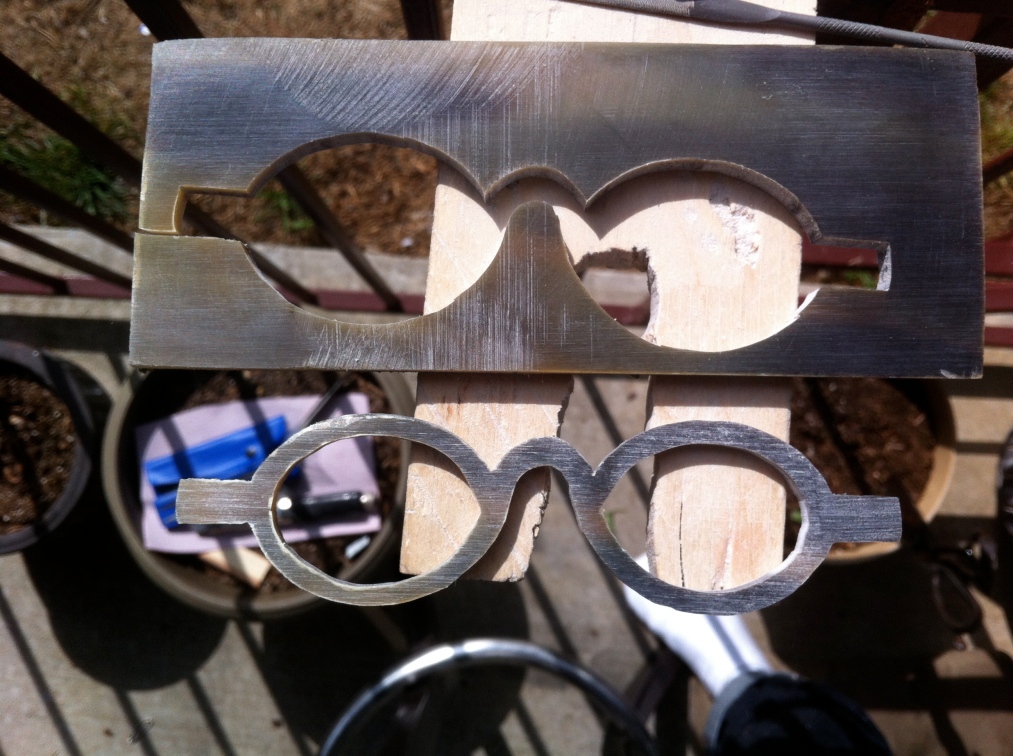 Below: The temples cut out.
  Below: Filing has begun-right side is filed-left side still has the cushion. And somehow the pattern got wet-I think was raining that day or maybe the sweat from so much filing!
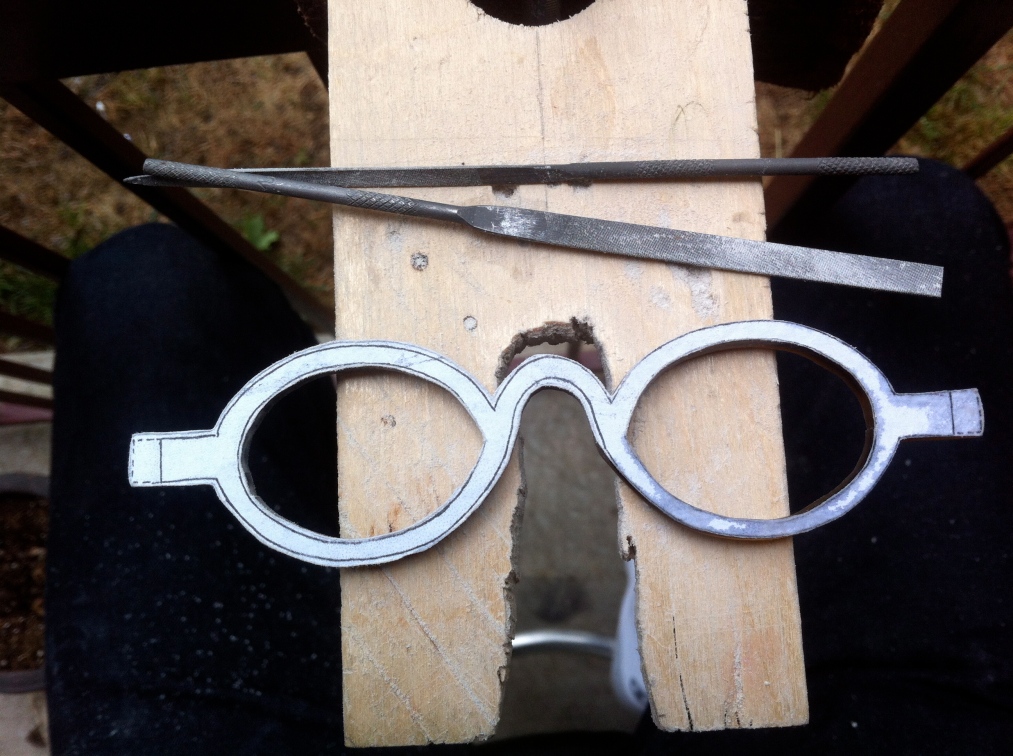
Below: A makeshift jig in order to shape sand the bridge of the nose. 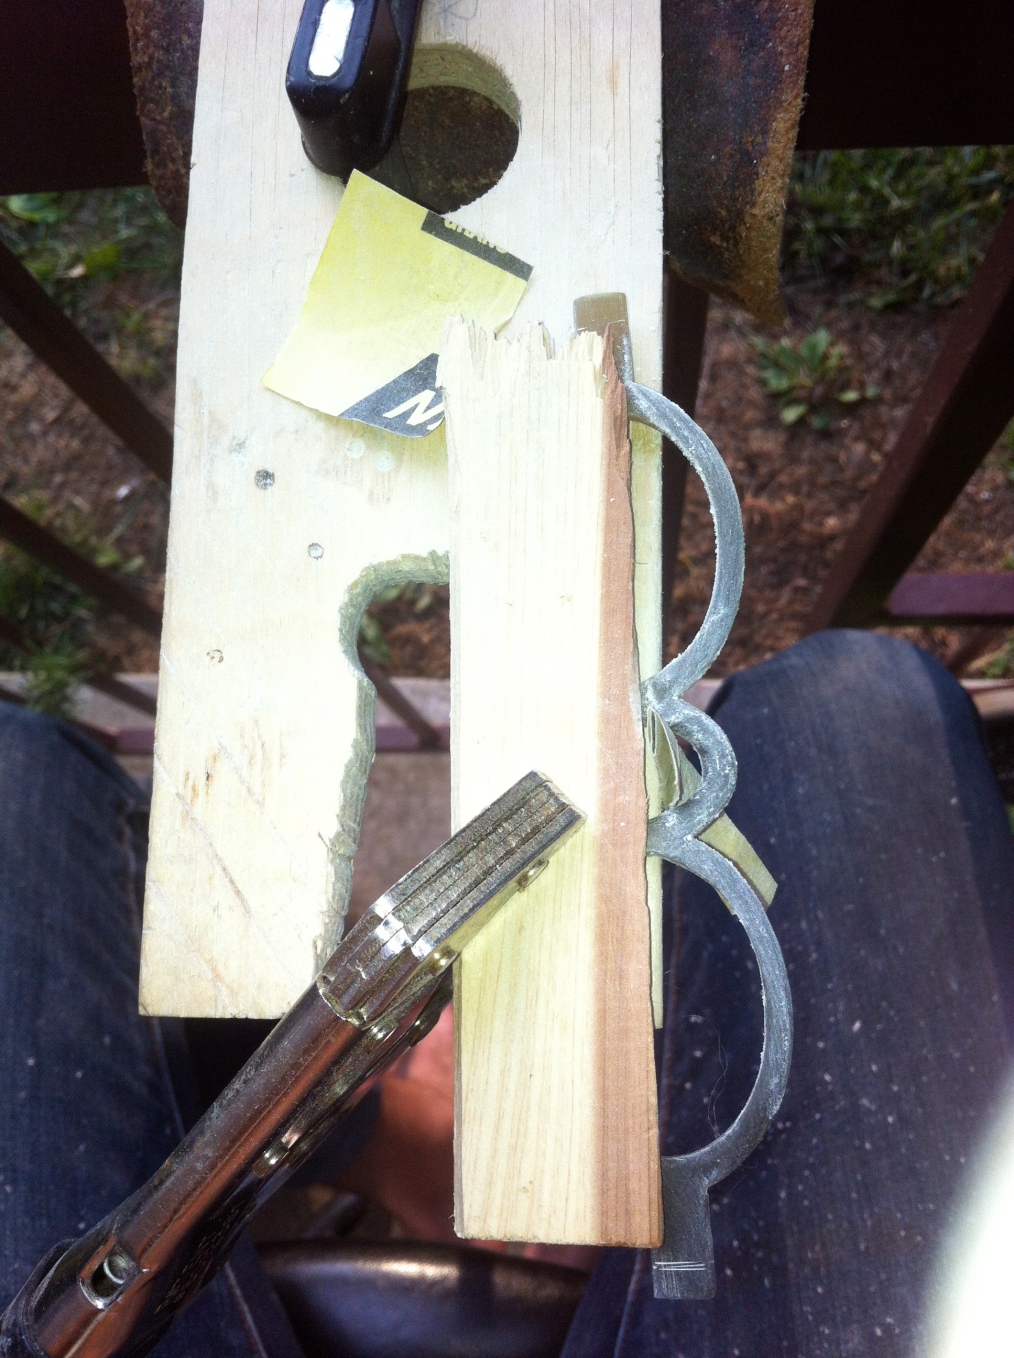
Below: The frame and temples have both been filed down to the the exact pattern-then shaped in order to take away the 90 degree angle. Below: Getting a bath from all the dust! The water accentuates all the vibrant variegated coloration.
  Below: Time to make them functional-the part that keeps me up at night is carving the reservoir for the hinges to sit in. A false angle=a improper fit for the client.
 Below: The reverse side.
Below: The hinge reservoir is outlined on both sides. 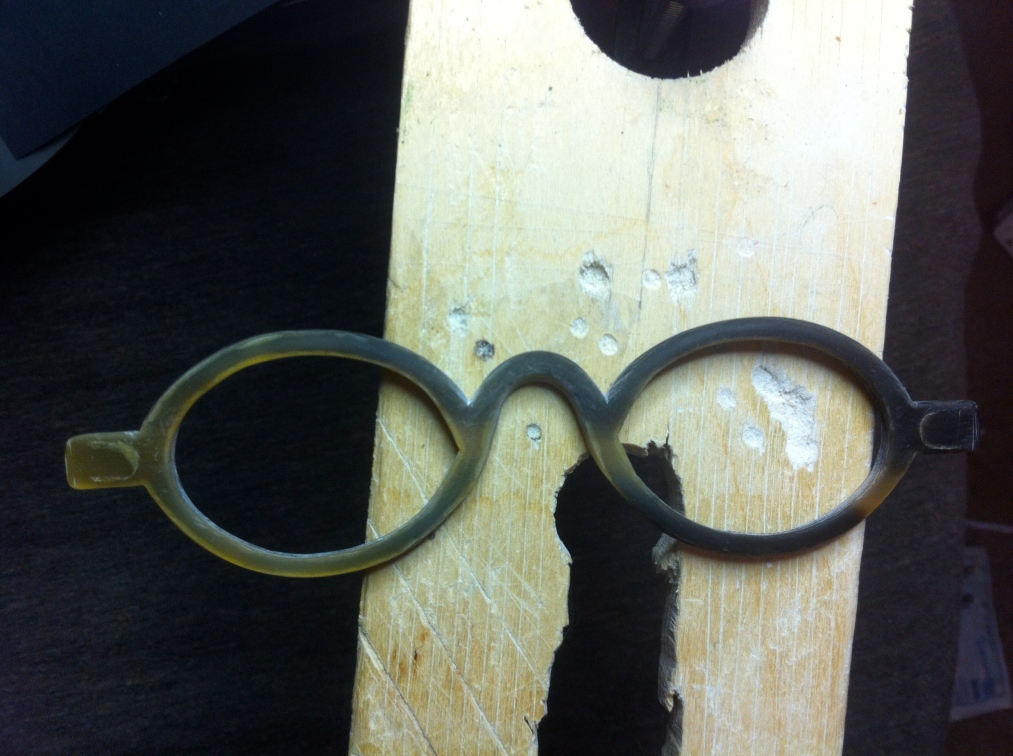
Below: 2mm flat chisel.  Below: Cut out-but not finished.
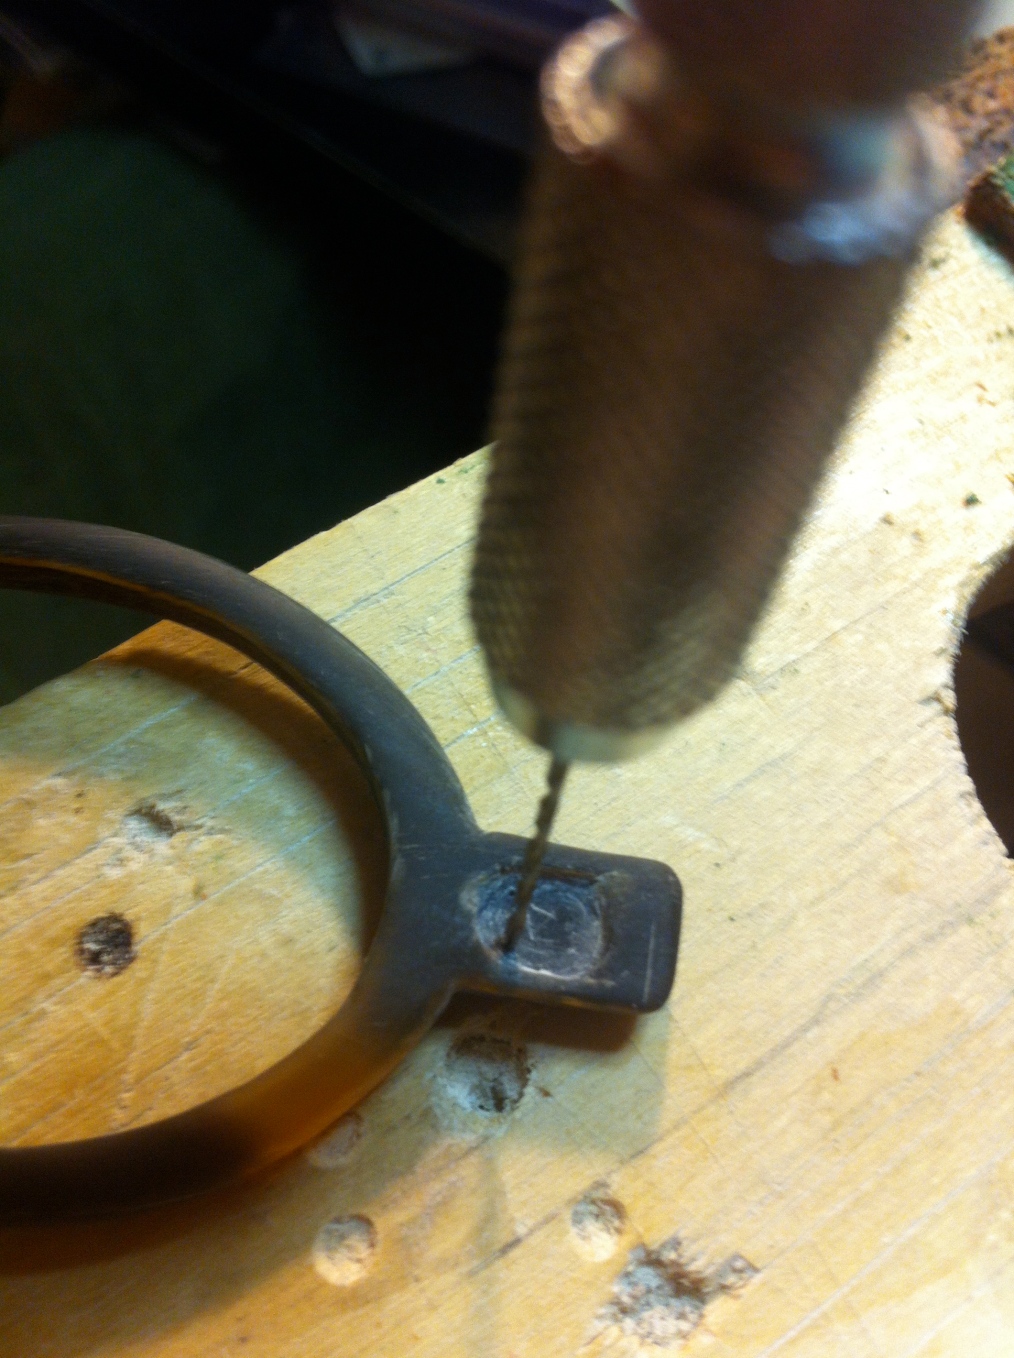
 Below: Pin Vise- Drilling the holes for the rivets.
  Below: The temple hinge reservoir.
 Below: My rivet hammer & rivets.
 Below: Holes for the rivets-drilled with a mini pin vise hand drill.
 Below: The rivets needed to be filed to just under a millimeter above the surface so that when they are hammered they form a nice neat mushroom-top over the surface of the horn in order to properly and permanently secure the hinges.
 Below: Drilling the holes.
 Below: The hinges are set! This pair has yet to be polished in this picture.
  Below: Their first meeting.
 Thank you for walking this journey with me. I hope you have enjoyed watching me learn and grow-and seeing the process unfold before your eyes. My greatest joy as a craftsman is seeing something grow from paper patterns to a finished wearable functioning piece.
The journey has only begun-new blogs on the next step in this adventure will be coming soon.

